How to Lay Large Pavers for Walkway
The process of laying large pavers for a walkway can be a rewarding project for homeowners. Whether you plan to use brick, concrete, or stone pavers, following the right steps is crucial for a successful installation. In this step-by-step guide, we will outline the necessary planning, preparation, and installation techniques to help you create a beautiful and durable walkway using large pavers.
Overview of laying large pavers for a walkway
Laying large for a walkway involves careful planning, preparation, and installation. By following the necessary steps, you can create a sturdy and visually appealing pathway. This process includes clearing the area, creating a sand base, filling in gaps with additional sand, setting and overlapping paver panels, and completing the entire walkway layout. With attention to detail and proper techniques, you can achieve a beautiful walkway that enhances your outdoor space.
Benefits of using large pavers
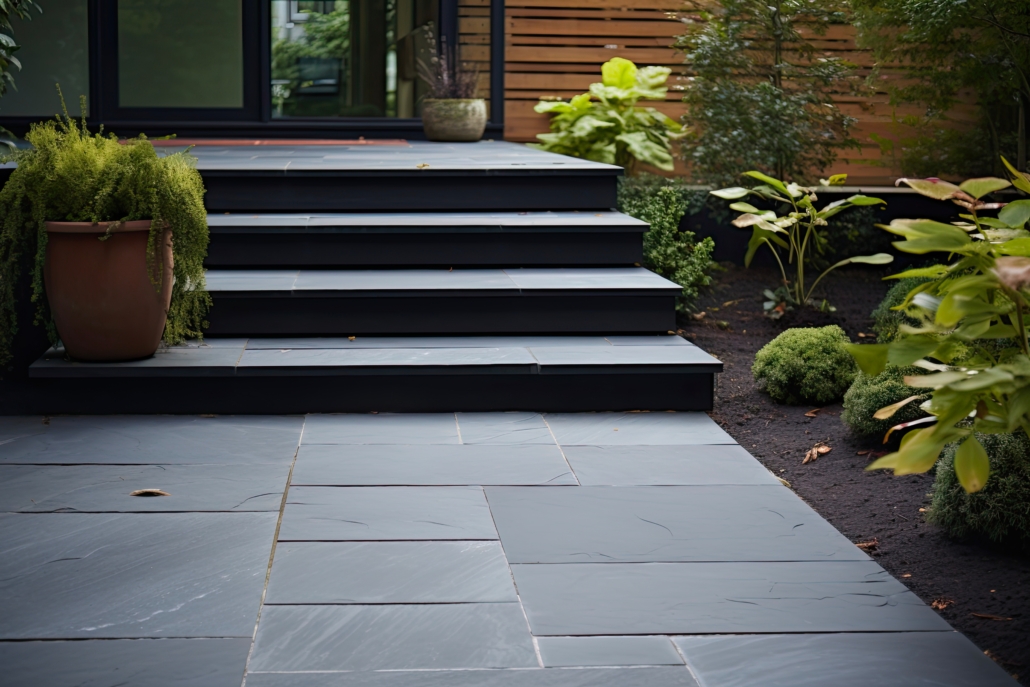
Large pavers offer several benefits when used for walkways. Firstly, they provide a more visually appealing and contemporary look compared to smaller pavers. Secondly, their larger size means fewer joints, resulting in a smoother and more seamless surface. Additionally, large pavers are often more durable and require less maintenance than smaller ones. Overall, using large pavers for your walkway can enhance the aesthetic appeal and longevity of your outdoor space.
1. Planning and Design
During the planning and design phase of laying large pavers for a walkway, it is important to create a detailed plan for the layout of the walkway. This involves determining the desired path, measuring the area, and considering any obstacles or features that may affect the design. Additionally, choosing a pattern for the pavers can add visual interest and enhance the overall aesthetic appeal of the walkway. Taking these steps ensures that the walkway is well-designed and meets both functional and aesthetic requirements.
A. Creating a plan for the walkway
When it comes to laying large pavers for a walkway, the first step is to create a detailed plan. This involves determining the dimensions and layout of the walkway, taking into consideration factors such as the shape of the area and any existing landscaping features. Planning ahead ensures that the installation process goes smoothly and that the walkway meets your specific needs and aesthetic preferences.
B. Choosing a pattern for the pavers
Choosing the right pattern is crucial for achieving the desired aesthetic. The pattern can enhance the overall design and create a visually appealing look. Whether opting for a classic herringbone pattern, a modern running bond pattern, or any other design, selecting the right pattern will ultimately contribute to the overall success of the project.
2. Preparing the Area
To ensure a successful installation of large pavers for your walkway, it is crucial to properly prepare the area beforehand. By taking these necessary steps, you will set the foundation for a sturdy and long-lasting walkway.
A. Clearing the walkway area
To begin the process of laying large pavers for a walkway, the first step is to clear the designated area. This involves removing any existing vegetation, debris, or obstacles that may be in the way. It is crucial to have a clean and level surface to ensure proper installation of the pavers.
B. Leveling the ground
After clearing the walkway area, the next step is to ensure that the ground is level. This is crucial for achieving a smooth and even surface for your large pavers. Use a leveling tool, such as a straight edge or a level, to check the ground’s flatness. Make any necessary adjustments by adding or removing soil until the area is completely level. Take your time during this step to ensure proper alignment and prevent any potential future issues with your walkway.
3. Installing the Walkway Foundation
To create a sturdy foundation for your paver walkway, it is important to properly install the walkway foundation. By following these steps, you can ensure a solid foundation for your pavers and prevent any shifting or sinking over time.
A. Lay a sand base
For the first step in laying large pavers for a walkway, it is important to lay a sand base. The sand base serves as a stable foundation for the pavers and helps to prevent shifting or sinking over time. Start by excavating the area where the walkway will be, ensuring it is level and free of any debris. Then, spread a layer of coarse sand evenly over the excavated area. Use a rake or shovel to smooth out the sand, creating a level surface for the pavers to be placed on.
B. Level the sand
Once the sand base has been laid, it is important to ensure that it is leveled properly. This step is crucial to create a stable foundation for the pavers. Using a straight board or a level, check the evenness of the sand surface. Make any necessary adjustments by adding or removing sand until it is perfectly level. It is essential to take your time during this step, as an uneven surface can result in an uneven walkway and potential tripping hazards.
4. Filling in the Gaps
After installing the first paver, the next step is to fill in the gaps. Start by adding additional sand to the walkway area, ensuring that it is spread evenly between the pavers. Use a broom or a brush to sweep the sand into the gaps, making sure that each gap is filled. This will help stabilize and secure the pavers in place, preventing shifting or movement. Once all the gaps are filled, gently tap down on the pavers using a rubber mallet to ensure they are securely in place.
A. Fill in additional sand
After laying the sand base, the next step is to fill in additional sand. This helps to ensure a level surface for the pavers and provides stability. Use a shovel to evenly distribute the sand across the entire walkway area. Make sure to fill in any gaps or low spots, and then use a trowel or rake to smooth out the sand.
B. Install the first paver
After leveling the sand, it’s time to install the first paver. Carefully place the paver on top of the sand bed, making sure it is aligned properly with the surrounding pavers. Gently press down on the paver to ensure it is secure and level with the rest of the walkway.
5. Creating a Sturdy Base
Once the paver panels are in place, the next step is to ensure a sturdy base for your walkway. This is crucial to prevent any shifting or sinking of the pavers over time. To achieve this, it is important to stagger the joints of the paver panels if needed, ensuring that they are not aligned directly on top of each other. Additionally, mark any excess on the paver panel and cut it off for a clean and seamless look. By following these steps, you will create a stable and durable foundation for your walkway.
A. Stagger the joints if needed
Once you have laid the first paver, it is important to consider the joints between the pavers. If you are using rectangular pavers, you may need to stagger the joints to create a more stable and visually appealing walkway. Staggering the joints involves offsetting each row of pavers so that they do not line up with the row next to it. This helps to distribute weight evenly across the walkway and increases its overall strength and durability. Take the time to carefully plan out the placement of each paver to achieve the desired staggered pattern.
B. Mark and cut the excess from the paver panel
After laying the sand base and leveling it, you will need to mark and cut any excess from the paver panel. To do this, use a measuring tape to determine the length needed for the panel. Then, use a chalk or pencil to mark that length on the panel. Finally, use a saw or a paver splitter to carefully cut along the marked line. This will ensure that the paver panel fits perfectly in your walkway design.
6. Setting the Pavers
To set the pavers, start by placing the first paver panel against a straight edge of the walkway. Make sure that it is aligned properly. Then, overlap the grooves of adjacent panels to ensure a secure fit. Continue this process across the entire layout until the walkway is complete. Remember to handle the pavers carefully and avoid dragging them across the ground to prevent damage.
A. Setting the first paver panel against a straight edge
Once the foundation is prepared, it’s time to start setting the pavers. Begin by placing the first paver panel against a straight edge of the walkway area. This will ensure a clean and aligned starting point for the rest of the installation process. Make sure the panel is securely placed on top of the sand bed, fitting snugly against neighboring panels for a seamless look.
B. Overlapping the grooves of adjacent panels
To ensure a secure and stable walkway, it is important to overlap the grooves of adjacent panels when laying large pavers. This helps to create a seamless and cohesive look, while also preventing any shifting or movement between the pavers. By aligning the grooves and ensuring a tight fit, you can create a sturdy base for your walkway that will withstand heavy foot traffic and the test of time.
7. Complete the Walkway
To complete the walkway, continue the installation process across the entire layout. Repeat the steps of setting the paver panels against straight edges and overlapping the grooves of adjacent panels. Cover the entire walkway area with the paver panels until it is fully finished.
A. Repeat the process across the entire layout
Once the first paver panel has been properly set and aligned, it’s time to repeat the process across the entire layout of the walkway. Carefully place each paver panel next to the previous one, ensuring a consistent pattern and maintaining proper spacing between each panel. This step requires attention to detail and precision to ensure a seamless and cohesive walkway.
B. Cover the entire walkway area with paver panels
Once the first paver panel has been properly installed, the next step is to cover the entire walkway area with additional paver panels. Continue setting each panel in place, making sure to overlap the grooves of the adjacent panels for a secure fit. Repeat this process across the entire layout until the walkway is fully covered with paver panels. Take care to ensure that each panel is level and aligned properly with the other panels for a seamless and sturdy walkway surface.
Tips for maintaining and enhancing the paver walkway
Regular maintenance is key to ensuring the longevity and aesthetic appeal of your paver walkway. To keep it in top condition, sweep the surface regularly to remove debris and prevent weeds from growing between the pavers. Additionally, consider periodic power washing to remove stains and restore the vibrancy of the pavers. Enhance your walkway’s appearance by adding decorative elements such as outdoor lighting or border plants.
Conclusion
Laying large pavers for a walkway can be a rewarding project that enhances the aesthetic appeal and functionality of your outdoor space. By carefully planning, preparing the area, and following the step-by-step installation process, you can create a sturdy and beautiful walkway that will last for years to come. With the expert services of Colonial Constructions, you can ensure a successful paver installation that meets your specific needs and preferences. So why wait? Get started on creating your stunning walkway today!

