Cheapest Way to Winterize Screened in Porch
As the leaves begin to fall and the air turns crisp, it’s time to think about winterizing your screened-in porch. This beloved space, often a hub of relaxation and family gatherings during warmer months, can face the harsh realities of winter if not properly prepared. Winterizing your porch is not just about extending its lifespan; it’s also about enhancing your enjoyment of it throughout the colder months. This guide focuses on cost-effective methods to ensure your porch is well-protected and remains a cozy retreat even when the temperatures drop.
Understanding Winterization Needs
Winterization for a screened-in porch means preparing it to withstand colder temperatures, snow, rain, and wind. The benefits of doing so are manifold. Firstly, it protects the structure from weather-related damage, like wood rot and moisture intrusion. Secondly, it transforms the space into a usable area even during cooler months, allowing you to enjoy the beauty of winter in comfort.
Assessing Your Porch’s Current Condition
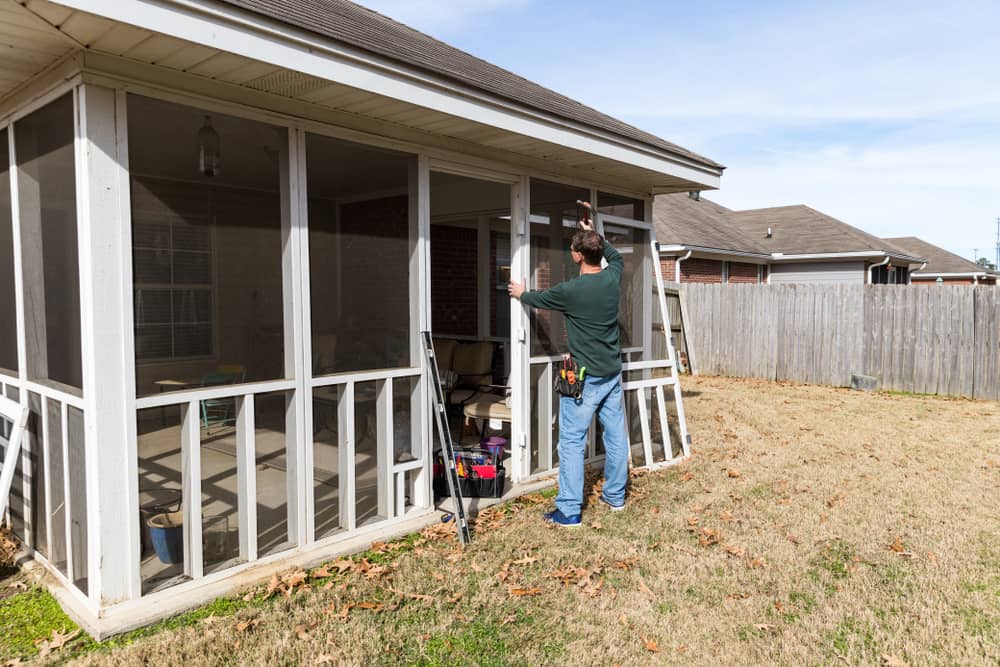
Start by assessing your porch’s vulnerability to the cold and weather. Check for gaps in the screens, loose boards, or any signs of wear and tear that could worsen with winter weather. Pay special attention to the roof and flooring, as these are critical areas that often bear the brunt of winter damage.
Materials and Tools for Winterizing on a Budget
You’ll need a few affordable materials to start your winterization process:
- Plastic sheeting or heavy-duty clear vinyl: To enclose the porch and keep out the cold.
- Weather stripping: To seal gaps around doors and windows.
- Foam board insulation: For added warmth, especially on the floor.
For tools, basic items like a hammer, nails, a staple gun, and perhaps a drill should suffice. These can often be borrowed or purchased at a reasonable cost from local hardware stores.
Step-by-Step Guide to Winterizing Your Porch
- Seal Gaps and Openings: Use weather stripping to seal gaps around doors and windows. This prevents drafts and keeps heat in.
- Install Plastic Sheeting: Staple heavy-duty plastic sheeting around the interior of your porch. Ensure it’s taut and secure to withstand wind.
- Maximize Insulation: Place foam board insulation on the floor and against any particularly drafty walls. This step is crucial for retaining heat.
DIY Tips and Tricks
- Repurpose old blankets or carpets as floor coverings for added warmth.
- Use bubble wrap on windows for an additional layer of insulation.
- Hang heavy curtains or blankets over the plastic sheeting for a cozier feel.
Maintaining Your Winterized Porch
Regularly check the plastic sheeting for tears and the weather stripping for gaps. Small repairs done promptly can prevent larger issues. Keep the space clean and dry to avoid mold and mildew growth, which can be prevalent in closed-off, warm areas.
Energy Efficiency and Cost Savings
Winterizing your porch contributes significantly to energy efficiency. It reduces the need for additional heating sources, thereby lowering energy costs. Properly sealing and insulating can lead to noticeable savings on your heating bill, making the initial investment in materials and time well worth it.
Conclusion
Winterizing your screened-in porch is a rewarding project that protects your investment, extends its usability, and saves on energy costs. By following this guide, you can achieve effective winterization without breaking the bank.

